Manual Servers
Learn how to add and configure manual servers in dFlow using Public or Tailscale setup.
dFlow allows you to add and manage your own servers that are not provisioned directly through dFlow or cloud providers.
You can connect manual servers using two methods:
- Public Setup (via SSH over public IP)
- Tailscale Setup (via private mesh VPN)
This flexibility ensures you can connect any server into your dFlow projects securely and reliably.
Public Setup
The Public Setup method uses your server's public IP address and an SSH key for authentication.
- Navigate to Servers → Add Server → Public.
- Provide the following details:
- Name → Unique identifier for the server.
- Description → Short description for reference.
- SSH Key → Select or add an SSH key for authentication.
- IP Address → Public IP address of the server.
- Port → Default is
22(can be customized if different). - Username → User with SSH access (e.g.,
ubuntu,root).
- Click Test Connection to verify connectivity.
- Once validated, click Add Server.

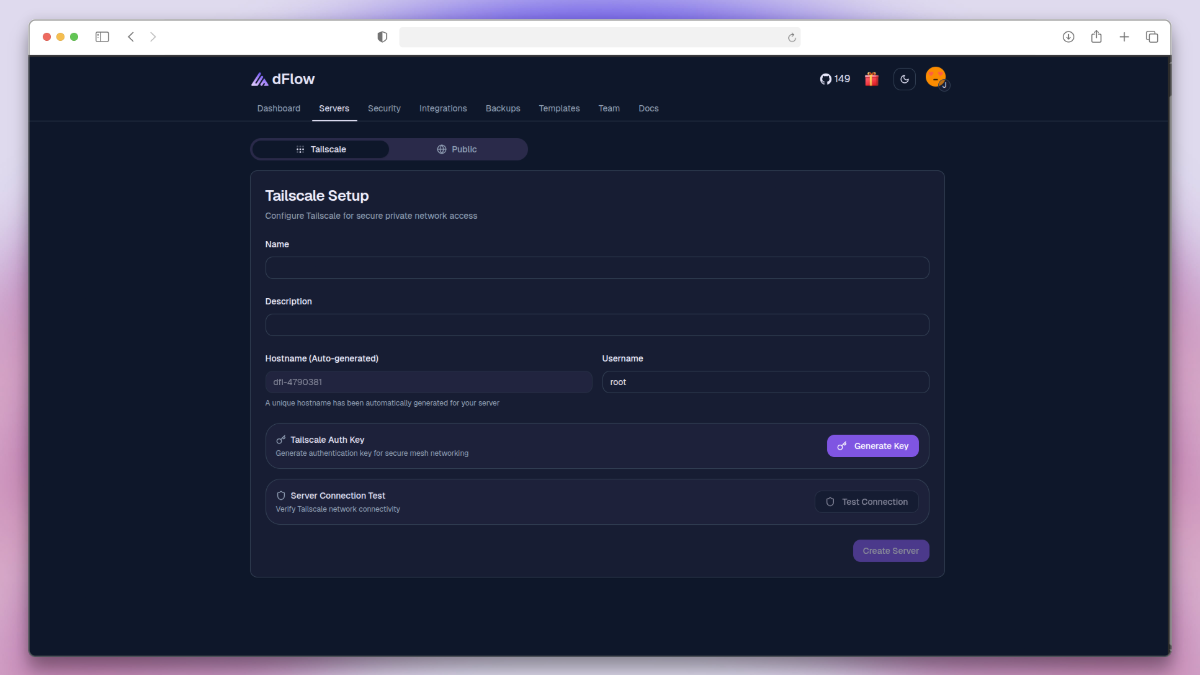
Tailscale Setup
The Tailscale Setup method connects your server securely over a private Tailscale network.
- Navigate to Servers → Add Server → Tailscale.
- Fill in the required details:
- Name → A unique identifier for the server.
- Description → Short description for internal reference.
- Hostname → Auto-generated by dFlow (used as a private identifier).
- Username → SSH user (commonly
root).
- Generate a Tailscale Auth Key from the setup screen.
- Copy the Generated Commands:
- Step 1: Install Tailscale
- Step 2: Connect to Network
Run both commands on your server in sequence
The first installs Tailscale, and the second authenticates and connects the server to your private network
- Step 1: Install Tailscale
- After running the commands, return to dFlow and click Test Connection to verify secure connectivity.
- Once the connection is successful, click Create Server to finalize setup.
Public vs Tailscale Setup
| Feature | Public Setup | Tailscale Setup |
|---|---|---|
| Connectivity | Uses public IP over the internet (SSH) | Uses private Tailscale mesh VPN |
| Security | Exposed to internet (restrict via firewall) | Encrypted private network by default |
| Ease of Setup | Requires server’s public IP & open SSH port | Auto-generated hostname & key-based auth |
| Best For | Publicly accessible servers | Private/internal infrastructure |
| Authentication | SSH key authentication | Tailscale Auth Key |
| Use Case | VPS, cloud servers with static IP | On-prem servers, private VPC, restricted servers |
Best Practices
- Use Public Setup only when your server has a fixed public IP and proper firewall rules.
- Use Tailscale Setup for better security when dealing with private or internal servers.
- Always test connection before finalizing to ensure smooth deployment.
Recommendation
Prefer Tailscale Setup whenever possible for enhanced security and simplified private networking.